Jane
A stain the size of a dinner plate appears on the ceiling after a week of heavy rain, and the first instinct is to reach for a can of primer. It feels thrifty and sensible. It is also the move that sends plenty of homeowners back to square one a few months later. Baker Restoration & Remodel has spent more than 35 years as a family owned mold inspection and remediation company serving Des Moines and central Iowa, and the same piece of advice comes up on nearly every job. Cover nothing until you know what is underneath, and fix things in the right order.
The stain is the smallest part of the story
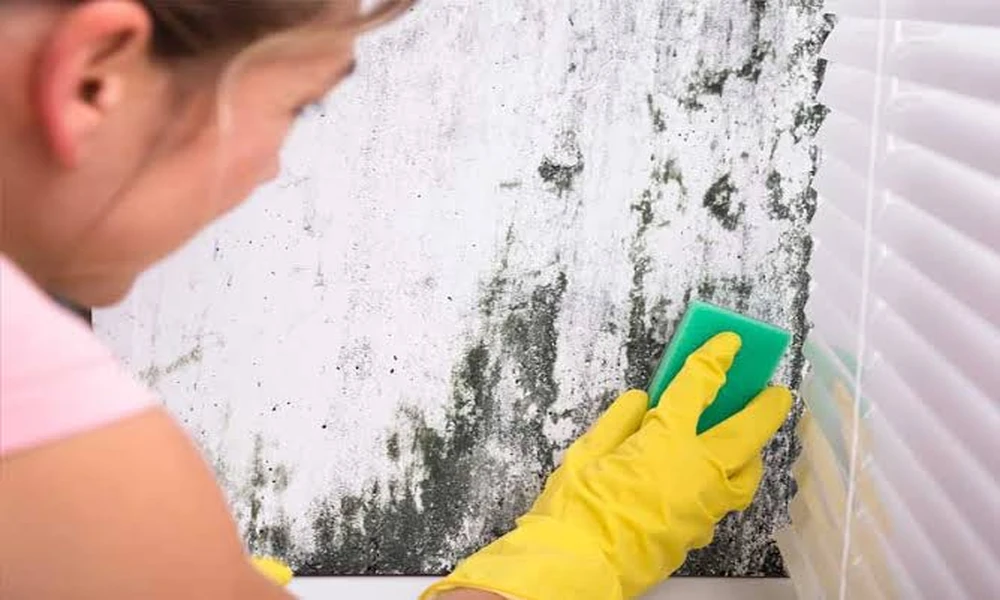
Mold is a fungus, which means it has roots. Those roots dig into drywall paper, insulation, wood framing and anything else that stays damp, while the spores they release drift through the house without anyone noticing. What you see on a ceiling or a basement wall is usually the visible edge of something larger hiding behind the surface.
That is why paint fails as a fix. A fresh coat hides the color but does nothing about the moisture feeding the growth, and the patch tends to come back, often darker. Growth can begin within a day or two of a leak, long before a musty smell gives it away.
Water is the real culprit
Every mold problem is really a water problem wearing a disguise. Removing the growth without finding the moisture source is like mopping a floor under a dripping pipe. The common sources in Iowa homes are fairly predictable.
- A roof leak or ice dam that lets meltwater creep under shingles and into the attic
- A bathroom fan that vents into the attic instead of outside
- A slow plumbing leak inside a wall or under a vanity
- Seepage through a foundation wall or a basement floor after heavy rain
- A damp crawlspace with bare soil and poor airflow
Moisture meters show how wet a material really is, and a borescope, which is a tiny camera on a flexible wand, lets a technician look inside a wall cavity without tearing it open first. A good inspection finishes with an explanation of where the water came from, and not only where the mold landed.
Sealing off the room before the first cut
Once the source is understood, the work moves to containment. Plastic sheeting goes up to seal the affected area, and negative air machines pull air through filters so that it flows toward the work zone instead of out into the rest of the house. This matters more than most people realize. Tearing into moldy drywall without containment can push spores into bedrooms, ductwork and furniture, turning one damaged room into a whole house cleanup.
Crews wear protective gear, and particle counters show whether airborne levels are climbing outside the barrier.
What actually leaves the house
Not everything has to go. Porous materials such as drywall, insulation, carpet and padding that are heavily colonized usually get removed and bagged, because mold grows through them and cannot be cleaned out. Solid materials like wood framing can often be cleaned and treated in place, which keeps the structure intact and keeps costs down.
Surfaces then get a thorough going over with HEPA vacuums and damp wiping, so that settled spores are collected rather than redistributed. The goal is restoration wherever possible, with demolition used only where the material cannot be saved.
Drying is not a footnote
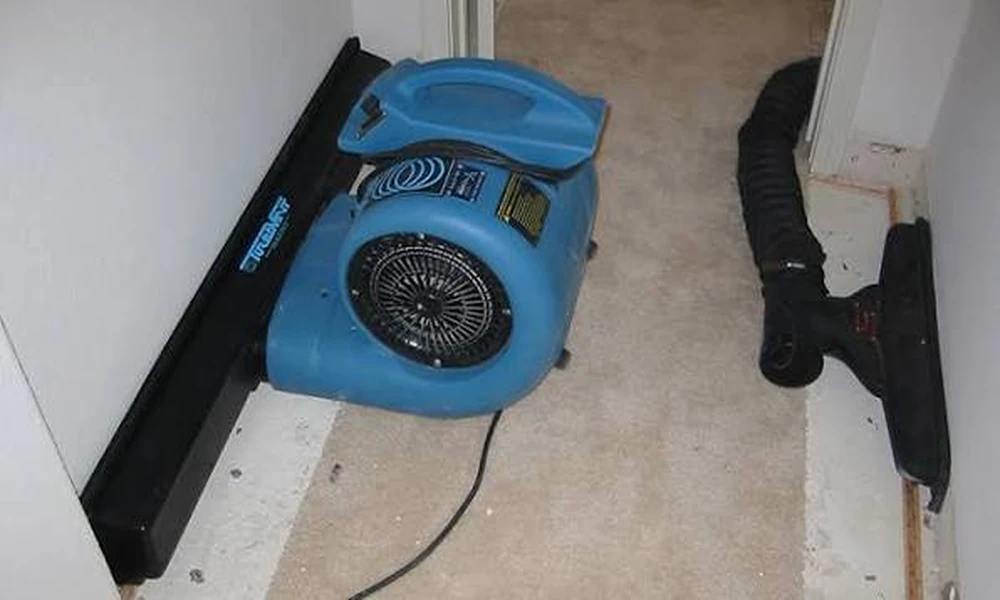
Many homeowners assume the job ends when the ugly material is gone, but framing, subfloors and concrete still hold moisture, and basement slabs can stay damp for days after the surface looks dry. Dehumidifiers and air movers run until moisture readings return to normal levels for that material, and the numbers are checked rather than guessed. Skip this stage and you are rebuilding over a damp surface, which invites the same trouble to return.
The proof step most people skip
Before any new drywall goes up, someone should confirm the cleanup worked. This is usually done with air sampling that compares the indoor air to the outdoor air, along with a visual check of the cleaned surfaces. Professionals in the industry follow a published national standard for mold remediation that expects an assessment, containment, source removal, cleaning and a verification step before anyone calls the job finished.
Here is how the whole sequence tends to unfold on a water driven mold job.
- Stop the water and dry out anything saturated
- Inspect, test and map where the mold has spread
- Contain the area and remove what cannot be saved
- Clean, treat and dry the remaining structure
- Verify with testing and a final inspection
- Rebuild with new materials and finishes
The rebuild comes dead last because everything before it protects the money you are about to spend on new walls, floors and paint.
When the hammers come back
After clearance, the pleasant part begins. New insulation, drywall, flooring, trim and paint go in, and this is the moment to make the space tougher than it was. Moisture resistant drywall in bathrooms and basements, a vapor barrier in a crawlspace, proper bath fan ducting, and better drainage around a foundation all reduce the odds of a repeat.
Some families hire a separate general contractor for this phase, which works fine when the remediation was independently verified. Others prefer one team for both stages, since the people who saw what was behind the wall are well placed to rebuild it sensibly. Either route is reasonable, as long as nobody rebuilds before clearance.
The paperwork nobody warns you about
Insurance deserves a mention because it surprises people. A sudden water event, like a burst pipe, is often covered, while mold coverage tends to be limited or capped at a lower amount. Policies differ, so read yours before the work starts. Photos, moisture readings, test results before and after, and a written scope of work all make claims easier to support, so keep every document.
What to ask before anyone signs anything
A few direct questions reveal a great deal about a contractor.
- Are the inspector and the remediation crew actually certified, and can they show it?
- How will the moisture source be found and fixed, and who is responsible for fixing it?
- What containment and air filtration will be used during demolition?
- Will clearance testing be done, and will the results be shared in writing?
- What does the timeline look like, and what could change it?
Straight answers, offered without hesitation, are a good sign. Vague answers and pressure to start immediately are not.
A ceiling that stays clean
A moldy room is not really a paint problem or a demolition problem. It is a sequence problem. Find the water, contain the mess, remove what cannot be saved, dry everything, prove it worked, and only then rebuild. Follow that order and the ceiling you finally repaint has a fair chance of staying exactly as clean as you left it.